
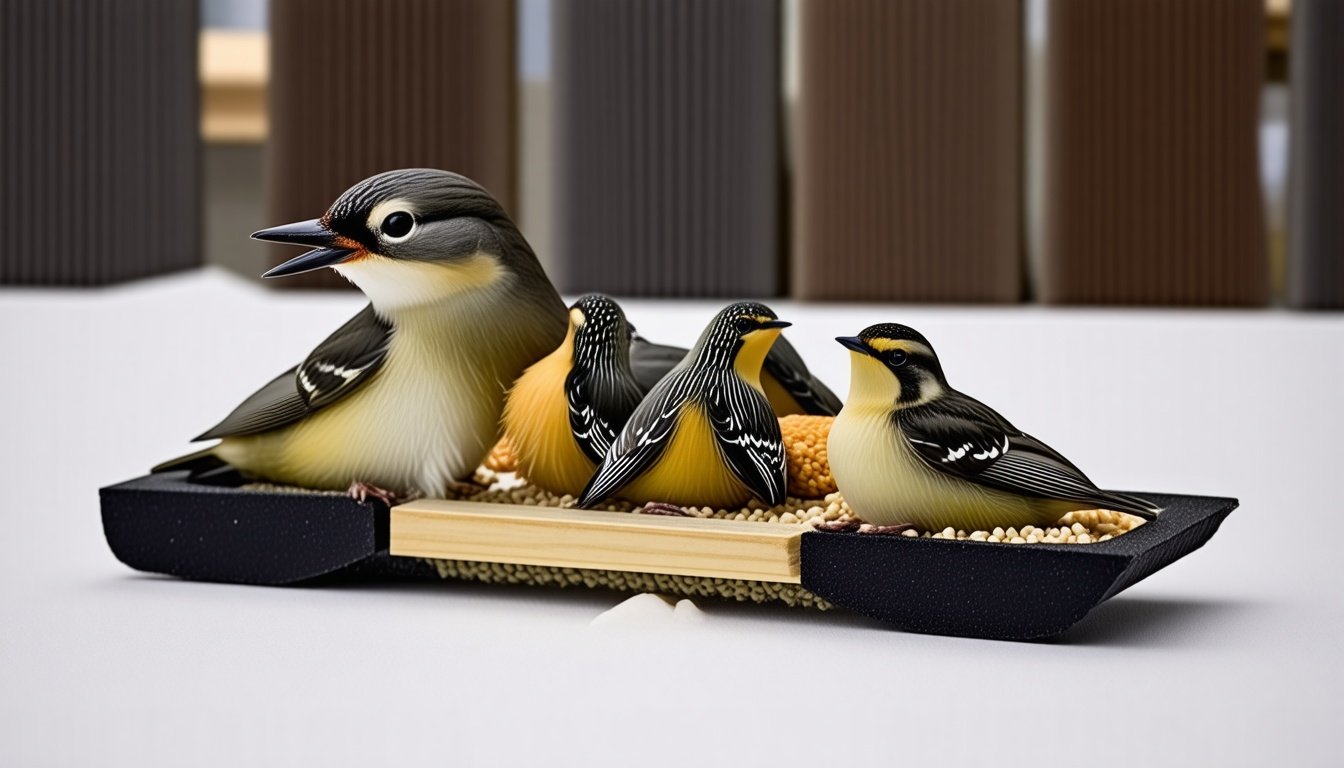
When you start thinking about making your own bird feeder, it feels like stepping into a secret club where fun, creativity, and a little bit of bird gossip all come together. You want to invite the birds, sure, but you also want to make something that feels right—something you can actually be proud of. Nothing says “I love you, feathered friends” quite like a DIY feeder that you built with your own hands. But what things do you need? What tools and materials actually make your feeder not just cute, but sturdy, useful, and maybe even a little bit clever?
Here’s the thing—making your own feeder is not about having a fancy workshop or a big budget. Nope. It is about using simple stuff, a bit of patience, and a pinch of imagination. And that’s exactly what we will talk about today: the best, easiest, and most fun tools and materials that will have your backyard birds flocking for a visit.
Why Go DIY for Bird Feeders?
Okay, before we get our hands dusty, why even bother making your own feeder? Sure, you can buy feeders at any garden store or online, but making your own has this special charm. It gives you full control—about what you feed the birds, what the feeder looks like, and how much it costs. Plus, it feels amazing to see a beautiful bird land on something you crafted while you sip coffee nearby. That little fluttery moment? Worth every splinter.
The best topsy-turvy part? Creating your own feeder is kind of like therapy, but it rewards you with feathered visitors instead of just good feelings. Plus, kids love it. You can turn it into a weekend project, full of glue smudges, paint spots, and lots of laughing at those birds trying to figure out the new setup.
The Basics: What Tools You Really Need
You might be thinking, “Do I need a whole shed full of gear to build a bird feeder?” Nope. Most times, just a few trusty tools can get you rolling. Here’s a list that will make your life easier, and your feeder better.
- Hammer and Nails: Old-school, but still gold. Perfect if you are building wooden feeders and need a solid hold.
- Screwdriver and Screws: Screws give more grip than nails, especially if the feeder will be outside for months dealing with wind and rain.
- Wire Cutters: If your feeder design uses wire at all (and it probably will), these are lifesavers.
- Drill: Not an absolute must, but it makes holes quicker and cleaner, especially in wood or plastic.
- Measuring Tape or Ruler: Feeder parts need to fit well—too tight or too loose, and birds might not stick around.
- Scissors: Sharp scissors come in handy when cutting fabric, netting, or paper parts.
- Sandpaper: Smoothing rough edges keeps birds safe from splinters, and your hands too.
- Glue Gun: For quick fixes and holding tricky pieces together. Just watch out for hot glue burns (speaking from experience here).
And hey, if you do not have all these tools, do not sweat it! Sometimes just a sharp pocket knife and some patience are enough to make something amazing. The biggest tool of all: your curiosity and willingness to experiment.
Materials That Make Your Feeder Fly
The materials you choose will affect not just how pretty your feeder looks but how well it works and how long it lasts outdoors. So pick smart, but also have fun with it!
Wood
This will always be a favorite. Wood looks natural, blends right into the garden, and can be shaped any way you like. Reclaimed wood adds an eco-friendly touch and a little story behind your feeder. Make sure to select untreated wood—no chemicals, please, because birds are sensitive little guys.
- Pine or cedar work well because they weather nicely.
- Do not use soft, rotting wood; it will fall apart faster than a bird on a wire.
Plastic Bottles and Containers
Saving the planet one feeder at a time—using old plastic bottles is a brilliant way to recycle. They are lightweight, usually waterproof, and easy to customize. Just poke holes for seed, add perches, and hang it up. Plus, kids love decorating these with paint or stickers.
Metal
Think soda cans, old cookie tins, or scrap bits of sheet metal. Metal is durable but can get hot in the sun, so consider placing feeders under some shade. You’ll need wire cutters and pliers handy if using metal bits.
Glass Jars
Not just for grandma’s preserves! Old glass jars can make charming feeders, especially for hummingbirds or smaller seed. The trick? Secure the jar with a wooden or wire frame and make sure the opening is easy for birds to access without risk of broken glass.
Natural Materials
Ever thought about pine cones, sticks, or gourds? These fit right into natural landscapes and attract birds with their simple beauty. Pine cones slathered with peanut butter and rolled in birdseed are a classic, easy project. Gourds can be hollowed out and turned into cozy little bird homes.
Other Handy Stuff
- String, wire, or twine: To hang your feeder securely.
- Mesh or netting: Great for holding larger seeds or nuts.
- Wood glue or waterproof glue: For fixing pieces without nails or screws.
- Paint or wood stain: Use non-toxic, bird-safe varieties if you want to add color.
What About Bird Feed?
Feeder making is only half the fun. Once you have your creation, feeding your visitors is the next step. Choose seeds or nuts that local birds love. Sunflower seeds, millet, cracked corn—they have their favorites. Tailor the feeder design to the food: tube feeders for seed, platform types for mixed goodies.
Keep it clean and dry. Moist seeds get moldy and birds do not like that at all. That is why materials that repel water or have good drainage help keep your feeder popular all year long.
Tips for Building Like a Pro (But Not Too Pro)
Let us keep it real: you do not need a carpenter’s degree or an engineering badge to make an awesome bird feeder. But here are a few tips that can save you headaches:
- Think safety first: Smooth out sharp edges with sandpaper or cloth to avoid hurting the birds.
- Sturdy equals happy: Birds get excited and flap around a lot. Make sure your feeder can hold up to their enthusiasm.
- Easy to clean: Feeder hygiene means happy birds and less disease. Design with easy cleaning in mind—removable parts or wide openings help.
- Watch the weather: Use weather-resistant materials or treat your wood with something natural and safe.
- Placement matters: Hang or place your feeder where you can watch it but where predators cannot easily reach it.
Ready to Start? Simple Feeder Ideas Using These Tools and Materials
Here are a few starter ideas that use basic tools and materials you may already have. Grab some seed, your favorite tools from earlier, and your most creative hat.
The Bottle Tube Feeder
Recycle a plastic bottle by cutting small holes and attaching perches with wooden spoons or sticks. Hang it with twine and fill it with tiny seeds. It is easy, cheap, and birds love the novelty.
The Classic Wooden Platform
Take a piece of wood, nail or screw sides up to make a shallow “tray” and add some hooks or wire to hang. Fill with mixed seed and watch sparrows, finches, and maybe even a cheeky robin drop by.
The Pine Cone Muncher
Smear peanut butter on a pine cone, roll it in bird seed, and hang it with wire. It attracts chickadees and titmice, who think you just might be their best friend.
Old Jar Feeder
Use an old glass jar with a screw-on lid attached to a wood or metal frame. Fill the jar with seeds, and as it empties, gravity refills the feeding hole. Just be patient while you build it, and you will have something elegant yet simple.
Final Thought Before You Start
The best part about making feeders yourself is that every one of them tells a story. A story of curiosity, patience, and love for birds and nature. It will not always be perfect—or even pretty—but it will be yours. And that is what counts when you see your first bird take a seed from the feeder you made. That little moment? Priceless.
So gather your tools, stack up those materials, maybe call a friend or kid to help, and get started. Your garden is waiting, and the birds—they are curious about your new project, too.