
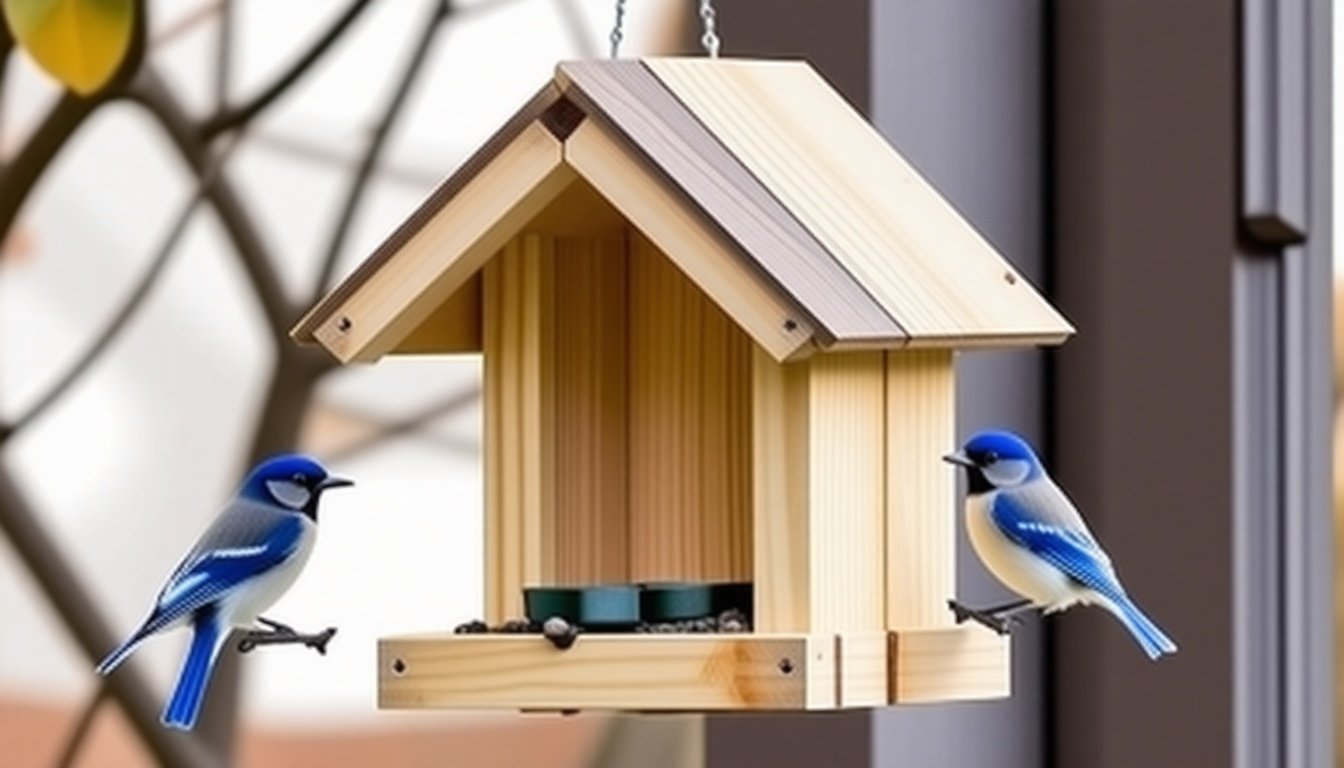
Do you ever find yourself standing by the window, coffee in hand, watching a flash of feathers dart from branch to branch? Backyard birdwatching is like little pockets of magic sprinkled into our everyday lives. Those tiny winged visitors bring so much joy, but they also need a bit of help finding their next meal, especially when nature takes a break from its usual generosity. So why not build something that can brighten their day—and yours? Yep, I am talking about a bird feeder, but not just any bird feeder. Let us talk about crafting a rustic cedar bird feeder from scratch. No fancy factory parts, just your hands, some wood, and that sweet anticipation of hearing birds sing around your new creation.
Why Cedar? Why Rustic?
Before your mind wanders off to a hardware store with dazzling shelves, let’s chat about cedar. Cedar wood smells amazing, like the forest tucked inside your house. It has natural oils that fend off rot and bugs. In practical terms, that means your bird feeder will last longer outside, rain or shine, without turning into a soggy mess. Plus, cedar ages into this gorgeous, weathered gray that screams rustic charm. It looks like something a friendly forest sprite might build. Beautiful and useful—a rare combo.
Rustic style fits beautifully into backyards that feel a little wild or woodsy. It does not have to be perfect. In fact, the nicks and uneven bits add character. No one is expecting a showroom piece.
What You Will Need
Alright, before jumping into the project, gather these things. I promise it is easier than it looks.
- One cedar board, about 1 inch thick, 6 inches wide, and 24 inches long.
- Wood glue that holds up to outdoor use.
- Wood screws, small but sturdy.
- Saw—a hand saw or a power saw, whichever you have.
- Drill with bits suitable for wood and screws.
- Sandpaper, medium and fine grit.
- Wood sealer or outdoor varnish (make sure it is safe for birds).
- Measuring tape and a pencil.
- Optional: twine or rope for hanging your feeder.
Designing Your Feeder
Keep it simple. The goal is to make a small, open platform with a little roof overhead to keep the birdseed dry and create a cozy spot for birds to land and snack. Think of it as a tiny cabin for little guests.
The plan: a base platform where the seed sits, four short sides to keep it from spilling everywhere, and a slanted roof that directs water away. Nothing fancy, just perfect enough.
Step 1: Cut Your Wood Pieces
Here is the quick blueprint:
- Base: 6 x 6 inches
- Sides (4 pieces): 1 inch x 6 inches
- Roof: 6 x 8 inches, angled to one side
Cut your cedar board into these pieces. If you are feeling creative, you can adjust sizes, but keep the roof bigger than the base to keep water off the seed.
Step 2: Smooth the Edges
Grab that sandpaper and make all edges smooth. This matters because birds are delicate, and you do not want any sharp splinters sticking out—plus, it makes everything look nice and polished. Even if you want that rustic look, sanding is your friend.
Step 3: Build the Base and Sides
Lay the base flat. Use wood glue along the edge and attach the four side pieces upright around the base. Clamp or hold them tight for a few minutes so the glue sticks well. Let it dry for a bit if you have patience; if you are like me and impatience runs wild, just keep holding.
Once dry, drill small pilot holes and screw the sides for extra strength. Trust me, excited squirrels and bold birds give your feeder a workout.
Step 4: Attach the Roof
Now for the roof. The easiest way to get the angle is to rest the 6 x 8-inch piece so one side overlaps the feeder’s edge more than the other. It will naturally let water run off.
Glue the roof along the tops of two opposite sides and screw it down. Leave one side of the roof overhanging a bit so birds have shelter from rain and sun—that little overhang is their umbrella.
Step 5: Seal the Wood
Here is where things get a bit fancy without actually being fancy. Use a wood sealer or outdoor varnish safe for wildlife to protect your feeder from rain and sun. One or two coats will do. Let it dry fully before offering birdseed. Birds are surprisingly picky about toxic smells, so patience is key here.
Making It Your Own
You can leave the wood natural for that classic weathered look, or if you want, paint the roof a cheerful color—maybe forest green, barn red, or sunflower yellow. Just use non-toxic paint safe for outdoor use. No need to become Picasso here; a dab of personality goes a long way.
Thinking about hanging versus placing it on a stand? Use some sturdy twine or rope tied to hooks or eye screws drilled into the roof corners. Hang it from a low tree branch or your porch eave, somewhere you can watch with a cup of tea or binoculars in hand.
Filling and Watching
When it comes to filling the feeder, start simple: black oil sunflower seeds are a top bird favorite. They attract a big variety of species, from chickadees to finches. You can mix in millet or cracked corn if you want to get fancy later.
Refill your feeder every few days, especially if the birds are feasting hard. Also, keep it clean by wiping out old seed and droppings every week or so. Birds are messy eaters, and nothing ruins a dining spot like moldy leftovers.
Birdwatching Perks
Once your feeder is up, get ready for the show. You might spot cardinals flashing their bright red, curious blue jays, or tiny wrens puffing their feathers. Birdwatching is like unplanned theater with feathered actors, and your cedar feeder is the front row seat.
Plus, it is peaceful to watch these busy little creatures. In a world that often feels too loud, their soft chirps and fluttering wings bring a calming rhythm. You may even find yourself learning bird calls or recognizing personalities—always fun.
When Things Get Messy
Let us be honest: sometimes, squirrels, raccoons, or neighborhood cats might try to crash the party. If your feeder becomes the hotspot for squirrel acrobatics, consider adding a baffle (a little dome or barrier to keep them away) or hanging the feeder in a spot tricky to reach.
Cleaning regularly also reduces diseases and keeps the birds happy and healthy. You are building a little bird community, after all, and it deserves a clean, safe space.
Final Thoughts
Building a rustic cedar bird feeder is like giving a gift to nature and yourself at the same time. It is a small project with big rewards—bird songs, lively visits, and the satisfaction of making something with your own hands. You do not have to be a woodworking wizard. Just use simple tools, take your time, and enjoy the process. And most important, watch those delightful visitors flock to your handiwork, turning your backyard into a tiny, bustling world of color and life.