
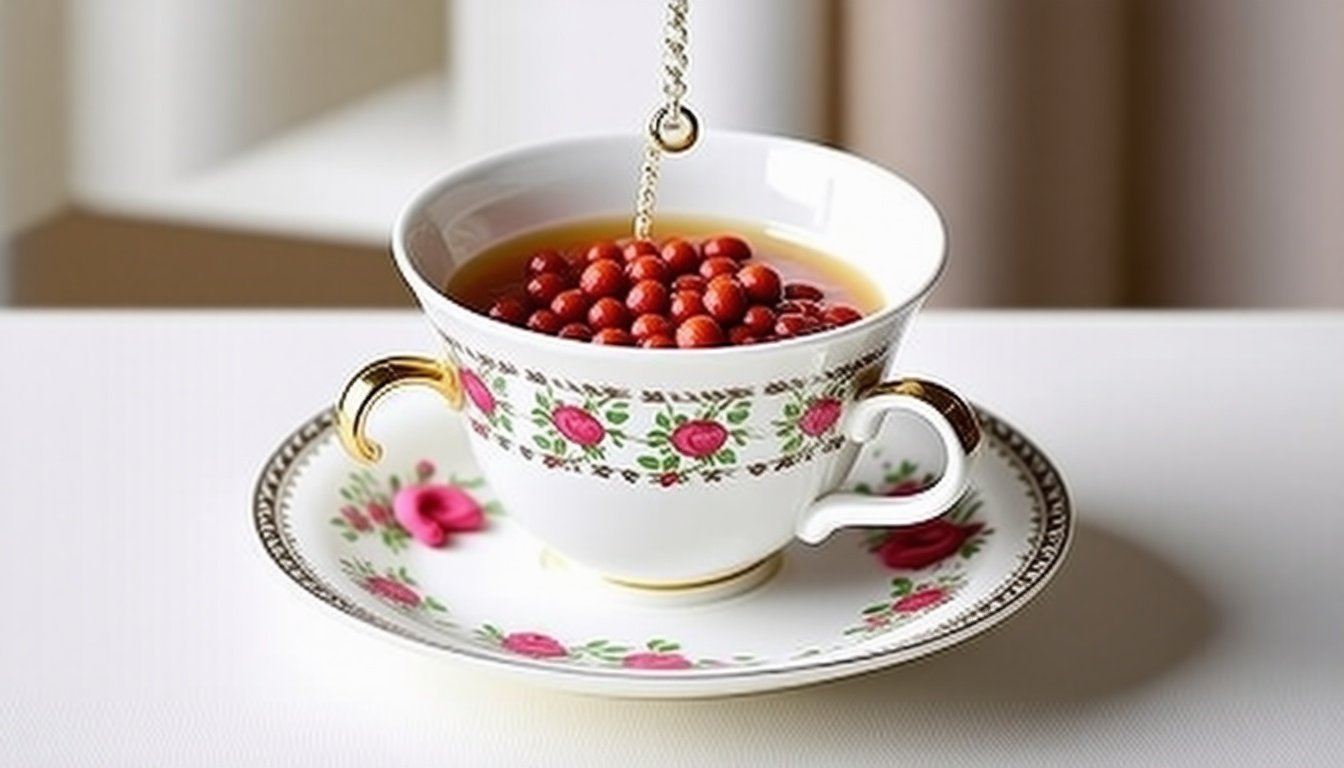
Let us be honest: nothing quite beats the joy of watching birds flit around your backyard. The tiny acrobatics, the unexpected visits, the bursts of color against green leaves — it is like living poetry in motion. But instead of waiting for birds to come by chance, what if you could invite them over with a little personal touch? Not the usual plastic bird feeder from the store, but something with a story, character, and a whole lot of charm? That is where your old teacup comes in.
Yep, that chipped or forgotten teacup tucked away in a cupboard, the one your great aunt adored but you never quite loved for tea. What if that delicate thing could become a cozy little restaurant for birds? No fancy tools, no complicated steps, just some simple fun and a touch of whimsy. Ready to roll up your sleeves and make your backyard a hotspot for feathered friends? Let us talk about how to create a bird feeder from an old teacup, and why it will make your garden (and heart) happier.
Why Use an Old Teacup for a Bird Feeder?
Before we get into the how, let us chat about the why. Why would someone want to turn a teacup into a bird feeder instead of buying a regular one?
- Personality: Every teacup has a story, a pattern, a little quirk. Using one adds personality to your garden that plastic feeders lack.
- Eco-friendly: Reusing something old keeps it out of the landfill, and it gives you a reason to hunt down more teacups at thrift shops.
- Size and Accessibility: The cup is perfect for small birds — sparrows, finches, chickadees — giving them an intimate spot to peck and pause.
- Way Cool Factor: When your neighbors spot a bird eating from a tiny teacup hanging nearby, you might get a few admiring smiles (or curious questions).
Not to mention, there is something deeply satisfying about turning something old and forgotten into a little jewel of your backyard life. It is like a secret handshake with nature.
Gather Your Materials (AKA The Fun Part)
Before you start imagining the masterpiece, you need to collect a few things. Luckily, none are too hard to find.
- Old Teacup and Saucer: If you want, you can use just the cup, but the saucer can be part of the fun.
- Strong Twine, Wire, or Ribbon: Something to hang your feeder safely from a tree branch or hook.
- Drill or Nail and Hammer: To make holes for hanging.
- Waterproof Glue (Optional): For extra stability, especially if you want to attach the cup to the saucer.
- Birdseed Mix: The tastiest menu for your visitors (we will talk about this in a bit).
- Clear Sealant Spray (Optional): To protect your teacup from weathering.
If that sounds like a lot, take a breath. Most of this you probably already have around the house, or can find easily without breaking the bank.
Step One: Prepare Your Teacup
Your teacup might have little chips or cracks — that is perfectly fine. It adds to its character. But you want to make sure it is clean. Give it a good rinse. You do not want old dust or grit crusted in there.
Now comes the part that might make you pause: making a hole for hanging. If your teacup is ceramic or porcelain, take a small drill bit made for tile or glass. Go slow, steady, and gentle, or else you risk cracking it, and that would be a sad moment. No shame if you feel nervous — just try not to rush it.
If you do not have a drill, another method is to use strong wire to create a cradle around the cup’s handle and body, but we will circle back to that.
Pro tip:
Make sure the hole is near the rim or handle area. You want the cup to hang level or tilted slightly forward so seed does not spill out when birds come for it.
Step Two: Attach the Saucer (Optional, But Cute)
If you want to go the extra mile, glue the saucer beneath the cup. This creates a little “plate” where some seed can scatter and birds can perch. Use waterproof glue and give it 24 hours to dry. This also adds charm and stability.
Alternatively, hang the cup just by itself. Both ways work, so let your mood guide you.
Step Three: Add Hanging Hardware
Use twine, ribbon, or wire to thread through the hole you drilled. Knot it tightly. You want the cup to feel sturdy, not swinging wildly in the wind.
If you skipped drilling, create a wire harness that loops snugly around the cup and handle, forming a basket. This might take some fiddling, but it works well, and you avoid poking holes altogether.
Once the hanger is ready, pick your spot. A tree branch, a hook under the eaves, or even a shepherd’s hook in the ground. Somewhere birds can spot safely from predators and feel comfortable landing.
Step Four: Fill It Up
Time to decide what to feed your new neighbors. A simple mix of sunflower seeds, millet, and cracked corn goes a long way. Avoid anything clumpy or wet, or it might spoil in the cup.
If you want to be extra thoughtful, add some peanuts or suet nearby for winter visitors. And remember — patience! It might take a few days for birds to discover your little café.
Birdseed Bonus:
- Avoid salt or sugary blends. Birds are sensitive to additives.
- Change the seed every few days. Fresh always tastes better.
- Add some fresh water nearby. Birds love a quick sip or a splash bath.
Step Five: Sit Back (With a Cup of Tea?) and Watch
Now for the best part. Find your favorite chair or perch by a window, bring a cup of something warm, and keep an eye on your teacup feeder. It might take a little time, but soon enough, you will spot the daring first visitor hopping on, pecking carefully, maybe even pausing to look around like “Wow, this place is swanky.”
Over time, more birds will join. You might see finches flashing yellow, wrens warbling, or chickadees flitting back and forth. Watching this quiet world unfold is surprisingly soothing, like nature whispering secrets you did not know you needed.
Extra Ideas to Jazz Up Your Teacup Feeder
Feeling inspired? Here are a few fun twists to make your project even more special:
- Paint It: Use outdoor-friendly paints to add fun colors or patterns. Just be sure to avoid toxic materials.
- Double Up: Hang several teacups at different heights for a colorful cluster of feeders.
- Light It Up: Add a tiny solar light nearby to make your feeder glow softly at dusk.
- Personalize It: Write funny bird names or messages on the cup with permanent marker.
- Seasonal Themes: Add little pinecones or fake flowers to switch up your feeder’s look through the year.
Care and Keeping of Your Teacup Bird Feeder
Bird feeders are like little restaurants. They need some upkeep.
- Clean Regularly: Rinse out your teacup once a week to avoid mold or bacteria build-up.
- Check for Damage: Look out for new cracks or chips and fix your hanger knots.
- Refill Often: Keep the seed fresh for maximum bird hugs.
- Protect Against Weather: Use a sealant spray once a year to help your cup survive rain and sun.
What You Might Not Expect
Creating a bird feeder from an old teacup is fun, but it can also surprise you in ways you did not expect. Beyond just watching birds, this little project invites patience. Watching your backyard change, noticing the seasons, hearing new bird calls — it makes everyday moments richer.
And there is an odd kind of comfort in crafting something with your hands that means something to the world beyond your four walls. Your teacup feeder is a tiny bridge between indoors and outdoors, between past memories and new stories. It is hope in ceramic form, waiting to be filled with life.
Go Ahead, Give It a Try
You do not have to be a master crafter or have a fancy backyard to make this work. Even a small balcony pot or a windowsill can host a teacup feeder.
So dust off that old teacup, gather some seeds, and watch a little world come alive right before your eyes. Who knew a forgotten cup could serve up so much joy?
Happy bird watching! Your backyard just got a new reason to smile.