
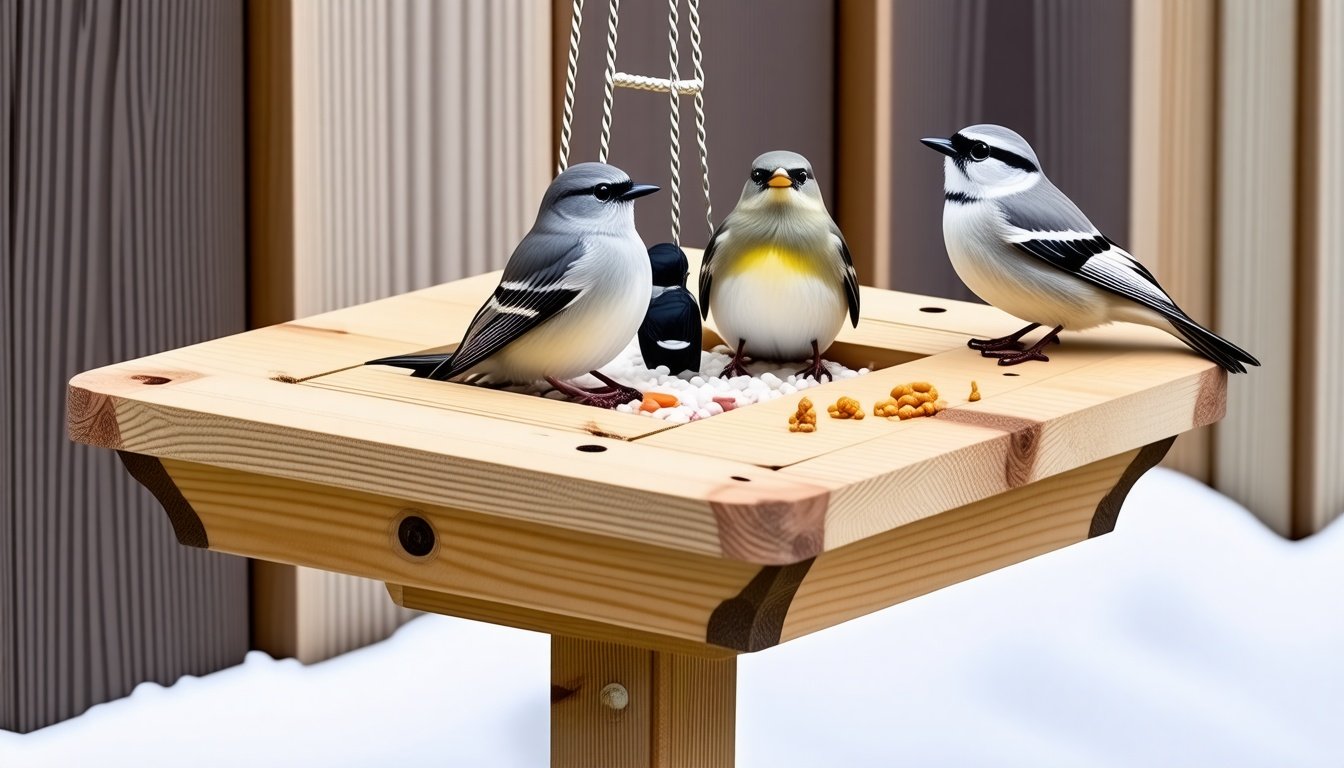
Watching birds flit and flutter around your backyard is one of those simple pleasures that feeds the soul. It slows you down, pulls you outside, and connects you to something wild and free, right there in your own little patch of earth. But if you want to really up your birdwatching game, you need a proper invitation for those feathered friends—a cozy little spot filled with their favorite treats. That is where a wooden platform bird feeder comes into the picture. It is straightforward, welcoming, and, best of all, something you can build yourself.
Why build a platform feeder? Because it feels honest. No plastic nonsense, no flashy gimmicks, just good old wood and some elbow grease. Plus, platform feeders attract a huge variety of birds—from tiny sparrows to cheeky jays—and give you a front-row seat to the backyard ballet. If you have been thinking of trying your hand at a DIY bird feeder but did not know where to start, this is it. Get your hands dirty, your heart ready, and let us craft a wooden platform bird feeder that will have the local birds talking for seasons to come.
What Makes a Wooden Platform Bird Feeder So Great?
Let us pause a minute and think about this. Why pick a platform feeder over a suet cage, a tube feeder, or one of those squirrel-proof designs? Well, platform feeders are like the open-air cafés of the bird world. They provide plenty of space for birds to land, hop, and dine. More importantly, they welcome all sorts of birds, from the shy cardinals that prefer to sit quietly to the boisterous blue jays that arrive like the loud cousins at a family reunion.
With a platform feeder, you can offer all kinds of tasty bites—seeds, nuts, berries, even bits of fruit. And since it is flat and open, you can watch birds’ behavior with less obstruction. No tubes or cages to peek through. Just a clear view of their delicate feet hopping, wings fluttering, and heads bobbing as they enjoy their meal.
There is also an easy charm to the simplicity of building a platform feeder. A few pieces of wood, some nails or screws, maybe some sandpaper if you want to feel fancy, and voila! You have a little wooden stage for birds to perform their daily dance. If you like to tinker, you can even tweak the design to fit your backyard’s style or your personal taste.
Tools and Materials You Will Need
Before you plunge into hammering away, it helps to gather everything first. You do not want to be mid-build, realizing you have no screws or that your saw has gone missing (where do they disappear to anyway?). Here is a simple list that will keep you on track:
- Wooden boards – cedar, pine, or redwood work great because they can withstand weather without too much fuss.
- Wood screws or nails – screws tend to hold better, but nails work if you do not have a drill.
- Drill or hammer – your choice based on the fasteners.
- Saw – a hand saw works, but a power saw saves time.
- Sandpaper – medium grit to smooth the edges and keep splinters away from those tiny bird feet.
- Measuring tape or ruler – for precise cuts and keeping things neat.
- Pencil – to mark where you cut or drill.
- Exterior wood glue (optional) – for extra hold.
- Non-toxic, weatherproof wood finish (optional) – to protect the wood and make it last longer.
Step 1: Choosing the Right Wood and Size
Picture the stage before the act. The wood you select sets the tone, the feel, and the longevity of your project. Cedar is a backyard hero: naturally rot-resistant and smelling faintly of forest walks. Pine is more affordable and easier to find but may need a finish to hold up in rain. Redwood has a rich, warm color that ages beautifully but can be pricy.
For size, let us keep things simple yet spacious enough for a couple of birds to share a meal. A platform about twelve inches by twelve inches (roughly 30 cm by 30 cm) is a sweet spot. Big enough to hold plenty of seeds but not so large that food goes to waste or it looks plunky in your yard.
Cutting Your Pieces
- Cut one square board twelve inches by twelve inches for the base (the platform).
- Cut four pieces for the sides, each about one inch wide and twelve inches long. These will act like little rails to keep the seed from blowing off or spilling.
If you want the edges a bit softer, sand down the boards lightly. No one likes rough spots, especially the delicate birds.
Step 2: Assembling the Platform
Now the fun part—putting it together. Lay the base board flat on your workspace. Next, place the side rails around the edges, standing upright like little fences.
Using your drill or hammer, attach the rails to the base. If using screws, pre-drill holes to avoid splitting the wood. Two screws per side will keep everything solid.
If you chose to use wood glue, add a little along the edges before screwing or nailing for extra stickiness. It feels like you are building a tiny fortress of food for your feathered visitors.
Adding Feet or Mounting Options
The platform could rest on the ground, but birds tend to feel safer when feeders sit a bit off the soil where pesky critters like ants cannot invade their snack time.
You can attach small wooden blocks, about one inch tall, under each corner of the base to raise it slightly. Simple little feet. Or, if you want to mount your feeder on a post or pole, drill holes in the platform center to screw it on securely.
Personally, I like the raised block method. It looks charming and keeps things grounded without the fuss of poles.
Step 3: Finishing Touches
Once the platform is sturdy and dry, consider adding a finish if your wood needs it. The key here is to pick something safe for birds and the outdoors. Many wood stains or sealers have chemicals that birds would not appreciate. Opt for natural oils like tung or linseed oil, which protect wood and stay bird-friendly.
Apply a thin layer with a rag and let it soak in. You can add a second coat if it still feels thirsty. Remember: the goal is to help your feeder brave rain, sun, and winter chill without peeling apart.
Getting Your Feeder Ready for Guests
With your feeder assembled, all that remains is to fill it up and wait. Different birds have different favorites, but a good mix of black oil sunflower seeds, cracked corn, and millet will invite a diverse crowd. You might even toss in a piece of fruit or peanut pieces for extra smiles.
Place the feeder somewhere you can watch without disturbing the guests. A window with a comfy chair nearby is perfect. Maybe keep a notebook to jot down which birds show up and when. It is a slow, joyful kind of entertainment that fills the quiet gaps in your day with life and wonder.
Extra Tips for a Happy Backyard Bird Feast
- Keep it clean. Wash your feeder gently every couple of weeks with warm water to prevent mold or disease.
- Be patient. It sometimes takes a few days for birds to find new feeders. Stick with it.
- Keep food fresh. Refill regularly but do not let seeds sit and rot. Birds prefer fresh, dry treats.
- Place near cover. Birds like to feel safe. Nearby trees or shrubs offer quick escape routes.
- Watch out for squirrels. You can add some clever baffles or place the feeder where squirrels cannot easily leap.
Why This Project Feels Like More Than Wood and Screws
Building a bird feeder like this is one of those rare things that connects you to the world outside in a beautiful, slow way. It teaches patience, care, and curiosity. Each nail hammered and board sanded is a step closer to friendship with the wild. The moment a bird lands on your handmade platform, all the small frustrations of the day melt away.
You become a storyteller in your own backyard, creating a tiny stage where nature’s drama plays out every day. It is rewarding, surprising, sometimes silly when a bold squirrel tries to steal the show, but always full of life.
If you have never built a bird feeder, now is the perfect time to start. You do not need fancy tools or expert skills. Just a little wood, some love, and a desire to invite nature close. You will watch more birds, learn their habits, and maybe smile a bit more often.
So gather your boards, your screws, and your dreams of bird songs on warm breezes. Time to turn those backyard moments into lasting memories, one wooden platform at a time.